Happy Memorial Day! And a very big and heartfelt thank you to all of our men and women who have served our country. Many of us cannot appreciate the full extent of what you do for us in the service, but Thank You!

Usually Memorial Day marks the beginning of unofficial summer. The weather is warming up and everyone starts getting the urge to start grilling. We all just want to be outside to enjoy the nice weather. Well, what about the kitties of our life? We all know cats love sunshine and the outdoors, but unfortunately, there are many dangers for outdoor cats. They tend to have shorter lives due to the dangers of getting hit by vehicles, attacked by other animals, or running off and having to fend for themselves.
Luckily, catios were invented. So, what is a catio? Think patio for cats. Yep, that's right. A catio is the name for a (usually) screened in enclosure that a cat can walk in so it feels like they are outside without actually facing the dangers of being loose in the outside world. Some people have crazy and amazing catios like these. While others, keep it simple and functional.
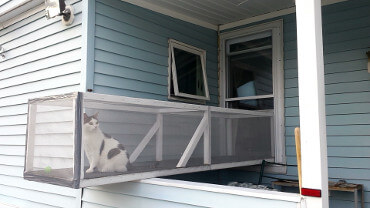
My boyfriend's family and friends decided that it was time for Snowball to have his own catio experience. So being the handy people that they are, they decided to design and build it from scratch. They were awesome enough to share the pictures and details of the construction process so I could share it with all of you!
So, the first part of the process was the design phase. Bob and Big Pete drew out their design for the catio and gathered their list of materials. Once Snowball approved of the design, they went off to buy their materials.
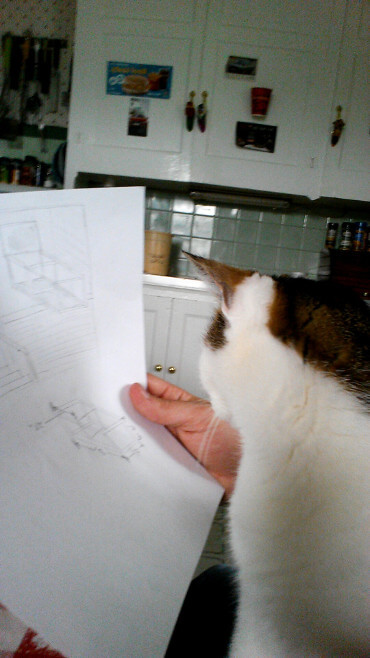
List of Materials:
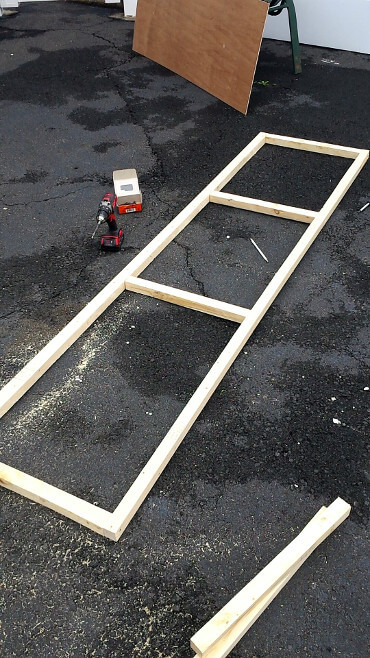
- Four 8' - 2x4s that they cut down the middle to make the frame
- A thin piece of plywood for the floor rug to fit the floor
- Two 4' wide rolls of standard window screening material
- Moldings as desired
Time for construction!
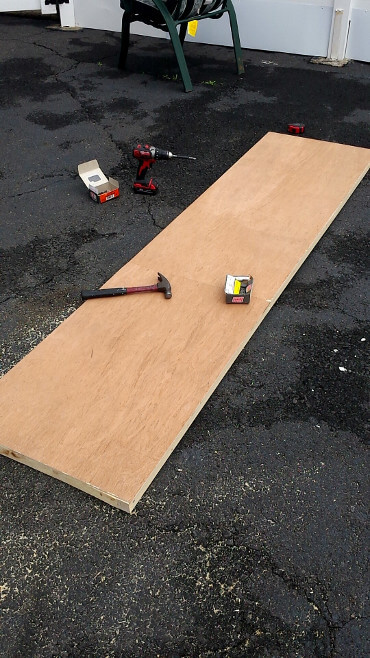
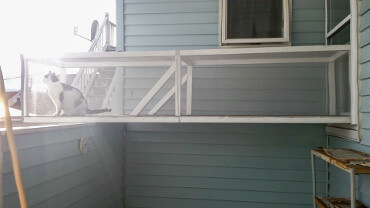
The plan for this catio was to start at the kitchen window and extend on to the porch railing as somewhat of a literal catwalk for Snowball. So, first, they built the frame work for the base of the catio and attached the thin piece of plywood to provide the floor for the catio.
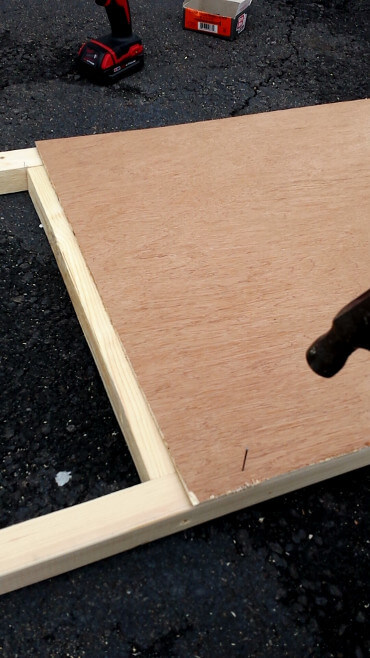
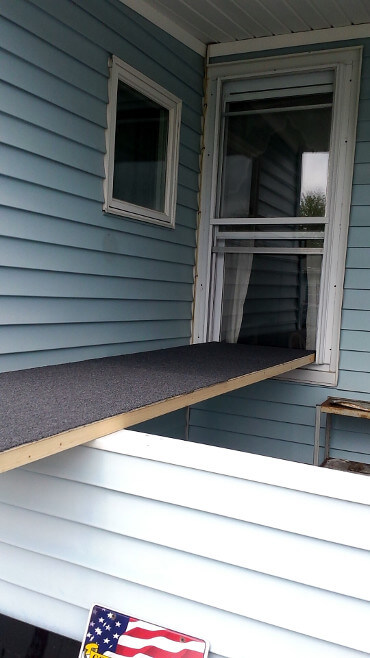
Next, they carpeted the plywood floor and did a trial fitting just to make sure they were on the right track.
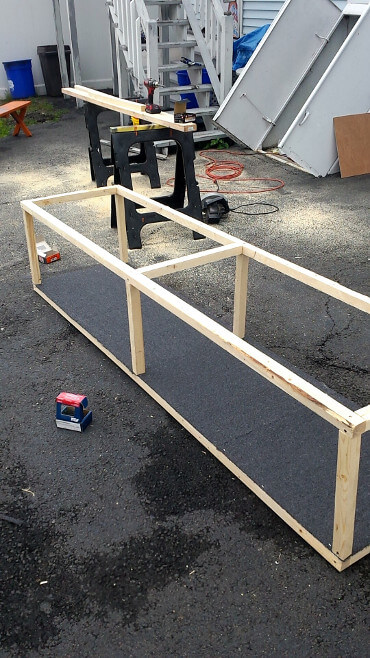
Then it was time to build the framework for the rest of the catio.
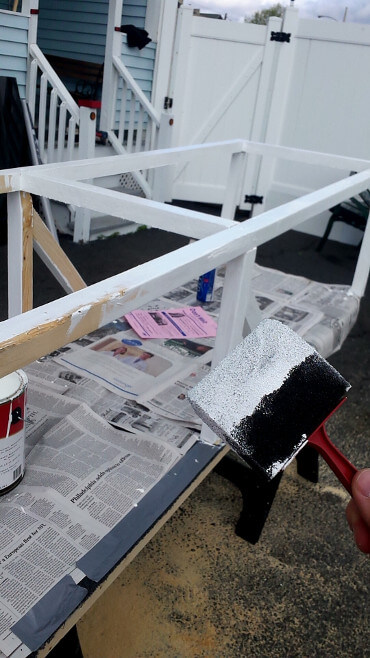
Once the framework was in place, it's time to paint! Snowball wanted to be camouflaged, so they painted it white to match him!
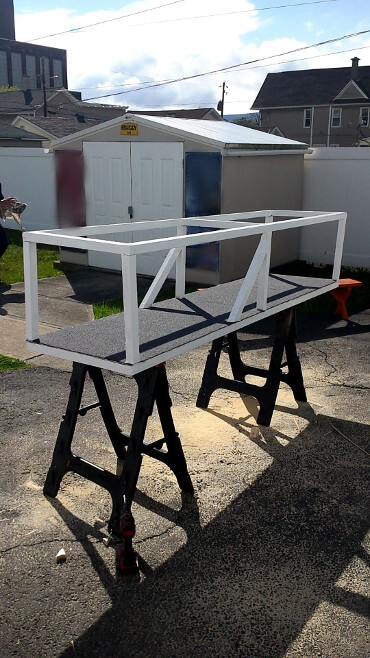
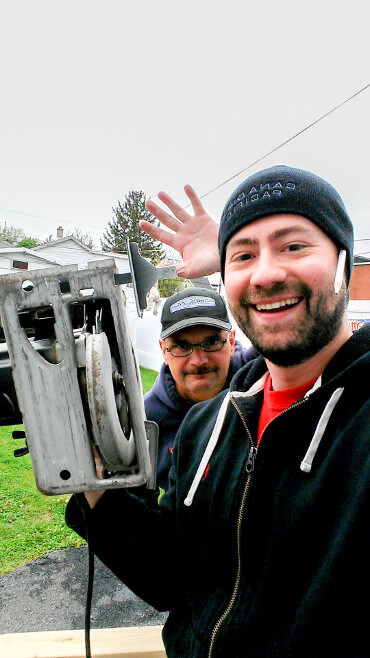
While the paint dries, don't forget to take some selfies while holding power saws so you look manly (Please don't try at home)!
Okay, okay, enough fun. Back to business. Time to put the screening in. They wrapped the screen from the floor over the top of the frame to the other side of the floor and stapled the screen in place.
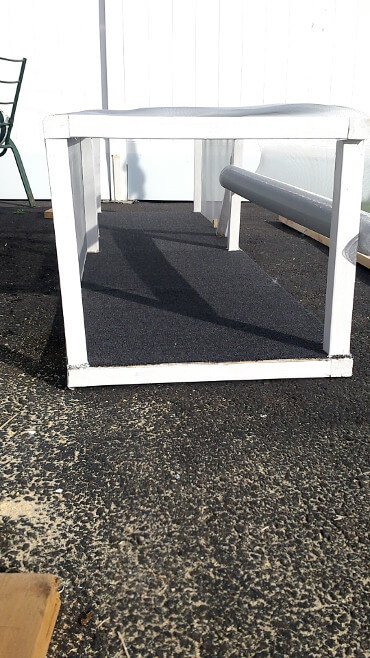
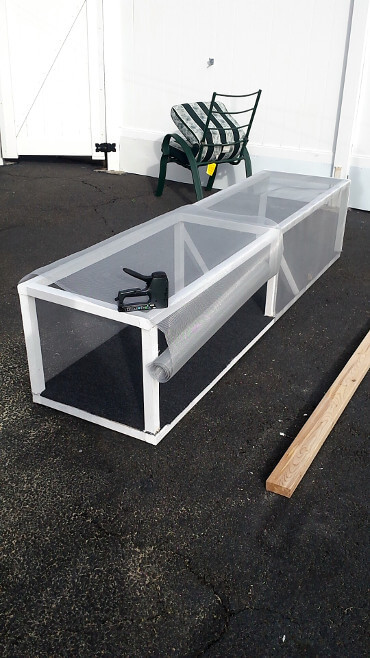
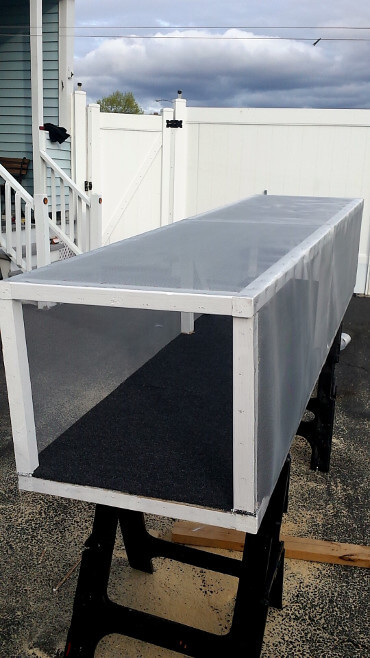
Don't forget to screen the front (but not the back) and of course, what is a good DIY project without some duct tape! Cover the jagged edges of the front screen with some duct tape and Voila! You now have a catio.
Put cat inside and wait for the final tail swish of approval.
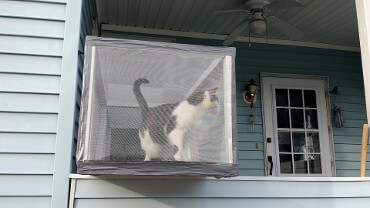
Snowball loves his Catio!
And here is the view from the kitchen window looking down the catio.
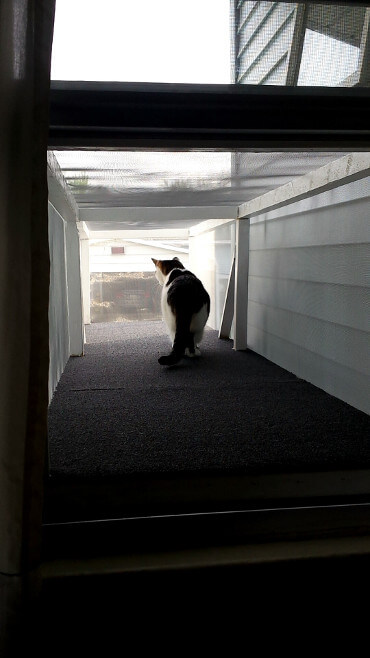
Snowball's life is forever enriched and now he can enjoy the outdoors whenever he pleases!
If you have the space and are looking for a DIY project to tackle, why not build your kitties their own catio? You'll have a fun time and they will love you even more for it! Not feeling very handy? That's okay, you can always buy pre-built catios on amazon. (Hint: They may be sold as chicken coops!)
Did you build your own catio? Let's see it! Post a link in the comments below!
Have a Waggly Tail Day!


